Train Your Own Custom AI Image Model: LoRA Guide
Train a custom image model without renting a GPU farm. This LoRA guide shows the dataset, settings, and prompts that separate magic from mush.
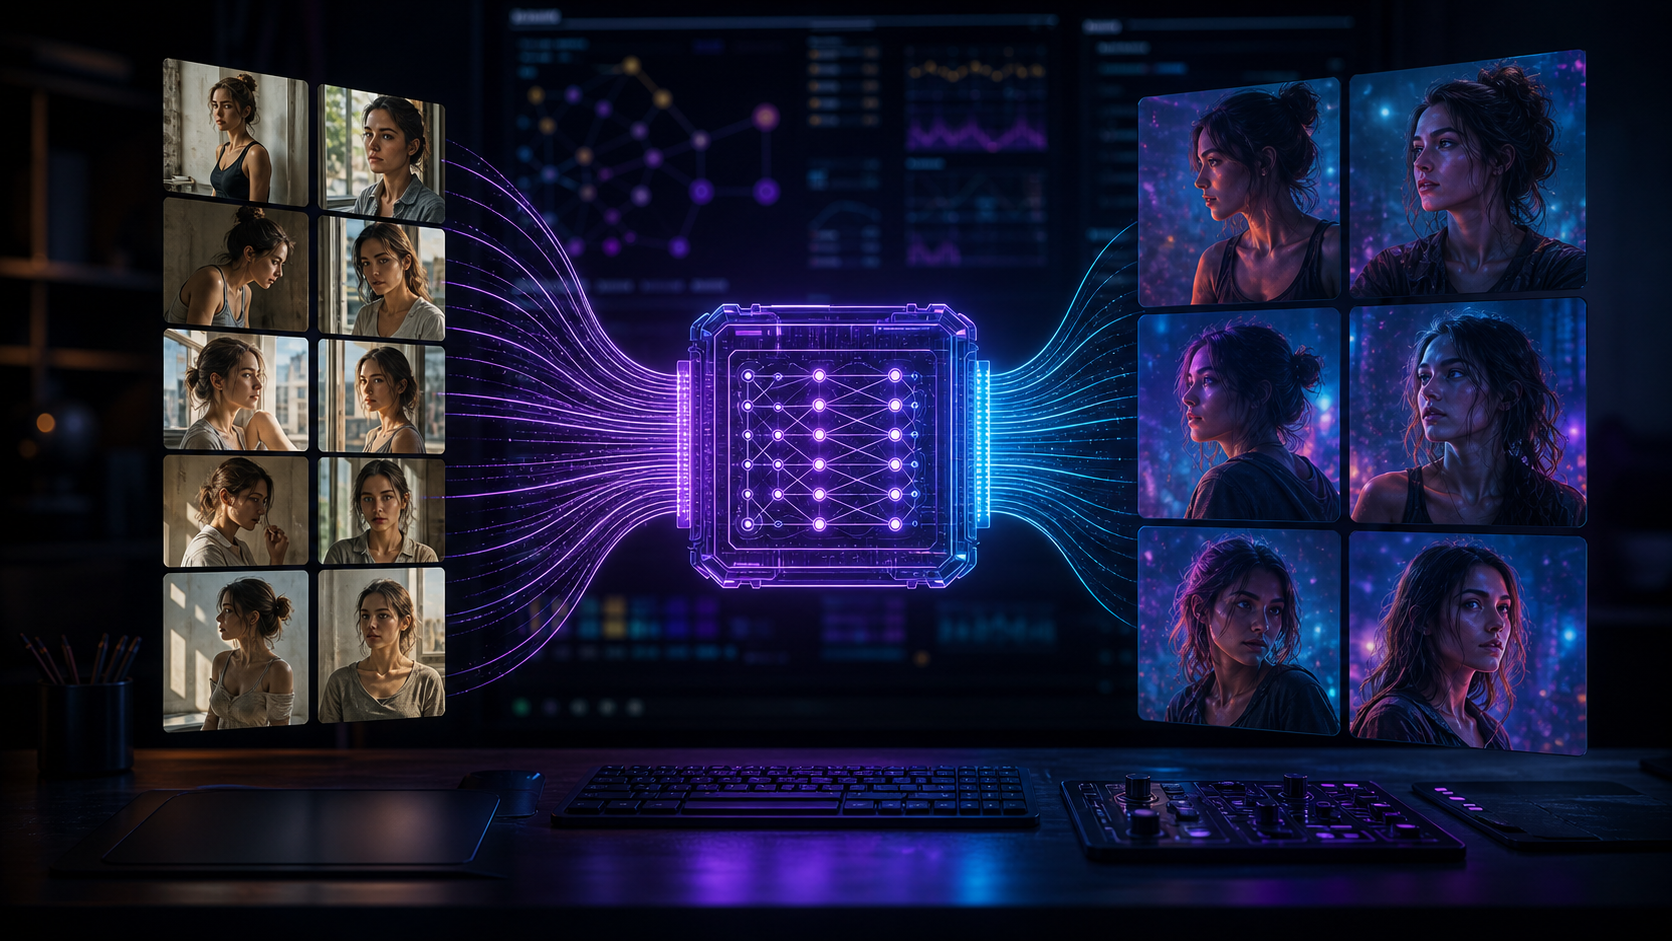
Most custom AI image models are ruined before training even starts. Not by bad GPUs. Not by weak software. By lazy datasets.
If you want to train custom image model workflows that actually produce usable faces, products, characters, or brand styles, LoRA is the sane entry point. It lets you adapt a powerful base image model without retraining the whole beast from scratch. You train a small adapter, attach it to a base model, and suddenly your prompts can summon a specific subject or style on command.
That is the pitch. The catch: LoRA is extremely sensitive to your images, captions, trigger word, and training settings. Feed it chaos and it gives you premium-grade chaos back.
This guide walks through the full process: choosing images, preparing captions, picking a trainer, running a LoRA, testing it, and fixing the usual ugly failures.
What You Are Actually Training
A LoRA is not a full image model. It is a compact set of extra weights that nudges a base model toward a new concept.
Think of the base model as the giant visual brain: it already knows lighting, faces, cameras, poses, materials, illustration styles, and composition. Your LoRA teaches it one extra thing:
- This specific person
- This product
- This mascot
- This illustration style
- This brand look
- This clothing item
- This game character
The original LoRA paper describes the core trick: freeze the big model and train a much smaller set of low-rank parameters. Hugging Face’s Diffusers docs use the same idea for image generation: LoRA trains fewer parameters, runs with less memory, and produces smaller files that are easier to store and share.
That is why LoRA is the default choice for most people. Full fine-tuning is heavier. DreamBooth can work well, but it is easier to overcook. Textual inversion is lightweight, but often too weak for complex subjects. LoRA sits in the useful middle: powerful enough to matter, cheap enough to repeat.
Prerequisites
You do not need to be a machine learning engineer. You do need to be organized.
You will need:
- 10-30 good training images for a subject LoRA
- 20-100 images for a style LoRA
- Permission to use every image in the dataset
- A unique trigger word
- A base model such as SDXL, Stable Diffusion 1.5, or FLUX
- A training tool: Replicate, Hugging Face Diffusers, kohya_ss, or a hosted LoRA trainer
- A way to test the result, such as ComfyUI, AUTOMATIC1111, Diffusers, or the hosted playground
Hardware depends on your path. Hosted training is the least painful. Local training gives you more control but wants a real GPU. For SDXL LoRA training, 12GB VRAM is a practical floor if you enjoy your computer not catching fire spiritually. FLUX training locally is heavier; hosted services are usually the better move unless you already know your way around GPU optimization.
Step 1: Decide What Kind of LoRA You Want
Do not train “everything.” That is amateur hour.
Pick one goal:
Subject LoRA
Use this for a person, pet, product, character, toy, shoe, bag, sculpture, or object.
Good prompt later:
photo of EGOX_PERSON wearing a black jacket, standing in a neon-lit Tokyo alley, 85mm portrait
Bad prompt later:
cool guy
The model needs a clear identity to grab onto.
Style LoRA
Use this for a visual language: watercolor food illustrations, brutalist sci-fi UI art, claymation product renders, editorial fashion lighting, comic ink shading.
Good prompt later:
EGOX_STYLE poster of a solar-powered motorcycle, bold ink lines, limited red and cream palette
Bad prompt later:
make it artistic
Style LoRAs need variety in subject matter but consistency in visual treatment.
Product or Brand LoRA
This is where LoRA becomes dangerous in a good way. You can train a model on a product line, packaging style, mascot, or campaign look. The win is repeatability. The risk is overfitting to the same three hero shots and generating the product like it is glued to one pose forever.
For product LoRAs, include multiple angles, lighting setups, backgrounds, and distances.
Step 2: Build The Dataset
Your dataset is the model’s entire education. If it is sloppy, your LoRA will be sloppy with confidence.
Subject Dataset
For a person or object, aim for 15-25 images.
Use:
- Close-ups
- Medium shots
- Full-body or full-object shots
- Different angles
- Different lighting
- Different backgrounds
- Different clothing or context if training a person
- Clean visibility of the thing you want learned
Avoid:
- Heavy filters
- AI-generated training images unless you know exactly why
- Duplicate shots
- Group photos
- Low-resolution screenshots
- Extreme motion blur
- Sunglasses in every face image
- The same outfit in every image unless the outfit is part of the concept
Expected result after this step: you should have a folder of images where a stranger could identify the subject clearly from most files.
Style Dataset
For style, use 30-80 images if possible.
You want consistency in style, not consistency in subject. If every image is the same cyberpunk woman staring left, the model may learn “cyberpunk woman staring left” instead of the style.
Use:
- Different subjects
- Different compositions
- Different distances
- Same medium or visual treatment
- Similar color logic, line quality, texture, lighting, or rendering style
Avoid:
- Mixing five different styles
- Including text-heavy images unless text is part of the style
- Using copyrighted living artists’ work without permission
- Training on random Pinterest sludge and hoping morality or quality appears later
Expected result: your folder should feel like one art direction system, not one repeated image.
Step 3: Clean And Resize Images
Most trainers handle resizing, but do not use that as an excuse to dump garbage into the machine.
Recommended prep:
- Use JPG or PNG
- Keep images at 1024px or higher when possible
- Remove duplicates
- Crop out irrelevant people or background junk
- Keep the subject visible
- Preserve aspect ratio if your trainer supports buckets
- Use square crops only when your output should mostly be square
A simple folder structure:
lora-training/
  images/
    001.jpg
    002.jpg
    003.jpg
  captions/
    001.txt
    002.txt
    003.txt
Some trainers expect each image and caption to share the same filename. Others let you upload a zip and enter a trigger word. Check your tool before getting precious with folder structures.
Step 4: Pick A Trigger Word
Your trigger word is the handle that activates the LoRA in prompts.
Do not use normal words like:
manwomandogcyberpunkbrandstyle
Use something unique:
EGOX_PERSONNOVA_TRAINERKINTARO_STYLEAURELIA_BAG
Replicate’s FLUX fine-tuning guide recommends a unique trigger word and warns against using common trigger terms that collide with other fine-tunes. Good advice. A trigger word should be ugly enough that the base model has no strong prior for it.
Expected result: you have one unique token that will appear in captions and future prompts.
Step 5: Caption Your Images
Captioning is where people either win or quietly sabotage themselves.
A caption tells the model what is in the image. It also tells the model what not to bake into the trigger word.
For a person:
photo of EGOX_PERSON, adult man, short dark hair, wearing a gray hoodie, outdoor park, soft daylightFor a product:
product photo of AURELIA_BAG, black leather crossbody bag, gold buckle, on white studio backgroundFor a style:
KINTARO_STYLE illustration of a city tram, bold ink outlines, flat colors, grain texture, dramatic shadowsThe trick is separation.
If the person is wearing a red jacket in one image, caption the red jacket. Otherwise the model may decide the red jacket is part of their identity. If the product appears on a marble table, caption the marble table. Otherwise the model may glue your product to marble forever like a cursed catalog shoot.
Captioning Rules That Actually Matter
Use the trigger word in every caption.
Describe variable details: clothing, pose, setting, lighting, background, camera distance.
Do not over-describe permanent identity features unless they matter.
For people, include age category responsibly: adult woman, adult man, older adult, etc. Do not train or generate sexualized content involving minors. That should not need saying, but the internet keeps proving otherwise.
Expected result: each image has a short, factual caption. Not poetry. Not SEO copy. Just useful labels.
Step 6: Choose Your Training Path
You have two sane options.
Option A: Hosted Training
Use this if you want speed and fewer setup headaches.
Replicate’s FLUX fine-tuning guide says you can train with a handful of images, recommends 10 or more for best results, and gives a typical example around 20 images and 1,000 steps costing about $1.46 at the listed H100 rate of $0.012200 per second at the time of their documentation.
Hosted training is ideal when:
- You do not own a strong GPU
- You want FLUX fine-tunes
- You care more about output than tinkering
- You want a web UI and API immediately
Typical hosted workflow:
- Zip your image folder.
- Open the trainer page.
- Pick or create a destination model.
- Upload the zip.
- Enter the trigger word.
- Choose subject or style.
- Start training.
- Test in the web playground.
- Download weights if needed.
Expected result: a trained model or LoRA file you can run from the hosted UI or API.
Option B: Local Training With Diffusers
Use this if you want control, reproducibility, and ownership of the training run.
Hugging Face Diffusers provides LoRA training scripts. A simplified setup looks like this:
git clone https://github.com/huggingface/diffusers
cd diffusers
pip install .
cd examples/text_to_image
pip install -r requirements.txt
accelerate config
Then run training:
export MODEL_NAME="stabilityai/stable-diffusion-xl-base-1.0"
export DATASET_DIR="/path/to/lora-training/images"
export OUTPUT_DIR="/path/to/output/egox-lora"

accelerate launch train_text_to_image_lora.py \
  --pretrained_model_name_or_path=$MODEL_NAME \
  --train_data_dir=$DATASET_DIR \
  --resolution=1024 \
  --train_batch_size=1 \
  --gradient_accumulation_steps=4 \
  --max_train_steps=1200 \
  --learning_rate=1e-4 \
  --lr_scheduler="cosine" \
  --lr_warmup_steps=0 \
  --checkpointing_steps=250 \
  --output_dir=$OUTPUT_DIR \
  --mixed_precision="fp16" \
  --seed=42
This is not the only valid config. It is a sane starting point.
Expected result: your output directory should contain LoRA weights, usually a .safetensors file or Diffusers-compatible LoRA checkpoint.
Step 7: Pick Starting Training Settings
Training settings are not religion. They are knobs. Start boring, then adjust.
For SDXL subject LoRA:
- Resolution:
1024 - Steps:
800-1500 - Learning rate:
1e-4 - Batch size:
1 - Rank:
8-16 - Caption dropout: low or none at first
- Scheduler: cosine is fine
For SD 1.5 subject LoRA:
- Resolution:
512or768 - Steps:
800-2000 - Learning rate:
1e-4 - Rank:
8-16
For style LoRA:
- Use more images
- Train a little longer
- Test multiple ranks
- Watch for style overpowering the prompt
For FLUX hosted trainers:
- Start with the trainer default
- Use 1,000 steps if the trainer recommends it
- Increase only if your concept is not being learned
- Do not blindly crank steps because bigger number feels manly
Expected result: your first LoRA should recognize the subject or style without wrecking every prompt it touches.
Step 8: Test The LoRA Properly
Do not test with one cherry-picked prompt. That is how bad models sneak into production.
Use a test grid.
For a person LoRA:
photo of EGOX_PERSON, studio portrait, softbox lighting, neutral gray background
photo of EGOX_PERSON wearing a denim jacket, walking through a rainy city street at night
photo of EGOX_PERSON as a chef in a bright restaurant kitchen, candid documentary photo
photo of EGOX_PERSON sitting at a wooden desk, laptop open, natural window light
For a product LoRA:
product photo of AURELIA_BAG on a clean white background, studio lighting
AURELIA_BAG on a cafe table beside sunglasses and a notebook, lifestyle photography
close-up macro photo of AURELIA_BAG gold buckle, shallow depth of field
AURELIA_BAG worn by a model in a city street fashion shoot
For a style LoRA:
KINTARO_STYLE illustration of a mountain village at sunrise
KINTARO_STYLE poster of a robotic delivery van in a crowded city
KINTARO_STYLE portrait of a jazz musician on stage
KINTARO_STYLE packaging design for a spicy ramen brand
Expected result: the LoRA should activate when the trigger appears and mostly back off when the trigger is removed.
If everything looks like your training images copied with tiny mutations, you overtrained or used a cramped dataset.
Step 9: Load The LoRA In Python
If you are using Diffusers, loading the LoRA is straightforward:
import torch
from diffusers import AutoPipelineForText2Image

pipe = AutoPipelineForText2Image.from_pretrained(
    "stabilityai/stable-diffusion-xl-base-1.0",
    torch_dtype=torch.float16
).to("cuda")

pipe.load_lora_weights(
    "/path/to/output/egox-lora",
    weight_name="pytorch_lora_weights.safetensors"
)

image = pipe(
    "photo of EGOX_PERSON, cinematic portrait, 85mm lens, soft rim light"
).images[0]

image.save("egox-test.png")
For some LoRAs, you can control strength:
image = pipe(
    "photo of EGOX_PERSON in a black suit, editorial fashion photo",
    cross_attention_kwargs={"scale": 0.8}
).images[0]
Lower strength if the LoRA is bullying the prompt. Raise it if the subject is barely showing up.
Expected result: a generated image that reflects your trained concept while still obeying the rest of the prompt.
Common Pitfalls
The LoRA Only Makes One Pose
Cause: your dataset had too many similar images.
Fix: add varied angles, crops, poses, and contexts. Reduce training steps if it is memorizing.
The Face Looks Almost Right But Not Quite
Cause: weak dataset, too few close-ups, bad captions, or undertraining.
Fix: add clean face images with varied lighting. Test 300-500 more steps. Avoid images where the face is tiny.
The Product Shape Mutates
Cause: image models are not CAD software. They are vibes engines with math.
Fix: use more angle coverage, cleaner product shots, stronger captions, and lower prompt chaos. For exact products, combine LoRA with reference-image workflows where possible.
The Style Overpowers Every Prompt
Cause: overtraining or LoRA strength too high.
Fix: lower LoRA scale to 0.5-0.8, train fewer steps, or use more varied captions.
The Model Ignores The Trigger Word
Cause: trigger word missing from captions, too few steps, bad trainer setup, or captions competing with the trigger.
Fix: verify every caption includes the trigger. Train longer. Use a more unique token.
The Output Looks Like A Copy Of The Training Data
Cause: overfitting.
Fix: reduce steps, add variety, remove near-duplicates, and test with prompts far away from the training scenes.
A Practical Training Recipe
Use this as your first run.
For a person or product:
- 20 images
- Unique trigger word
- Captions for every image
- 1024px training if using SDXL or FLUX
- 1,000-1,200 steps
- Rank 16
- Learning rate
1e-4 - LoRA strength
0.7-1.0during testing
For a style:
- 50 images
- Trigger word attached to style
- Captions describing subject and visual treatment
- 1,500-3,000 steps depending on trainer
- Rank 16 or 32
- Test at strengths
0.5,0.7, and1.0
Do not chase perfection on the first run. Train, test, inspect failures, change one variable, train again. That loop beats mystical Discord advice every time.
Legal And Ethical Notes
Only train on images you have the right to use. For people, get consent. For client work, get it in writing. For brand work, do not upload confidential product shots to random hosted trainers without checking privacy and retention policies.
Also, do not train a LoRA to impersonate private people, generate fake endorsements, or produce identity-based deception. Technically possible does not mean professionally defensible.
Final Takeaway
LoRA is the fastest practical way to train your own custom AI image model without becoming a full-time ML engineer. The software matters, but the dataset matters more.
Start with one narrow goal. Use clean images. Caption what changes. Pick a weird trigger word. Train a modest first version. Test it across prompts that try to break it.
That is the difference between a LoRA that feels like a superpower and one that just makes the same haunted portrait 400 different ways.
Sources
> Want more like this?
Get the best AI insights delivered weekly.
By subscribing, you agree to our Privacy Policy. You can unsubscribe at any time.
> Related Articles
Autonomous Business Agents Need a Control Plane Before They Need More Tools
Pion's research preview connects persistent agents to business systems. Evidence from real vending, retail, and cafe trials shows why monitoring and bounded authority are the core product.
AI Systems Need Three Trust Layers: Verifiable Work, Managed Permissions, and Private Credentials
A cipher-solving agent, GitHub's enterprise controls, and Signal's zkgroup work point to the same production lesson: intelligence needs enforceable trust boundaries.
RAG Query-Rewriting Evaluation: Prove the Rewrite Finds Better Evidence
Query rewriting often sounds smarter while retrieving worse evidence. Evaluate rewrites against relevant documents, failure slices, and final grounded answers before shipping them.
Tags
> Stay in the loop
Weekly AI tools & insights.